 EN
Home Skincare
Ideal for daily facial care routines, providing easy-to-use beauty solutions at home.

2026/09/18
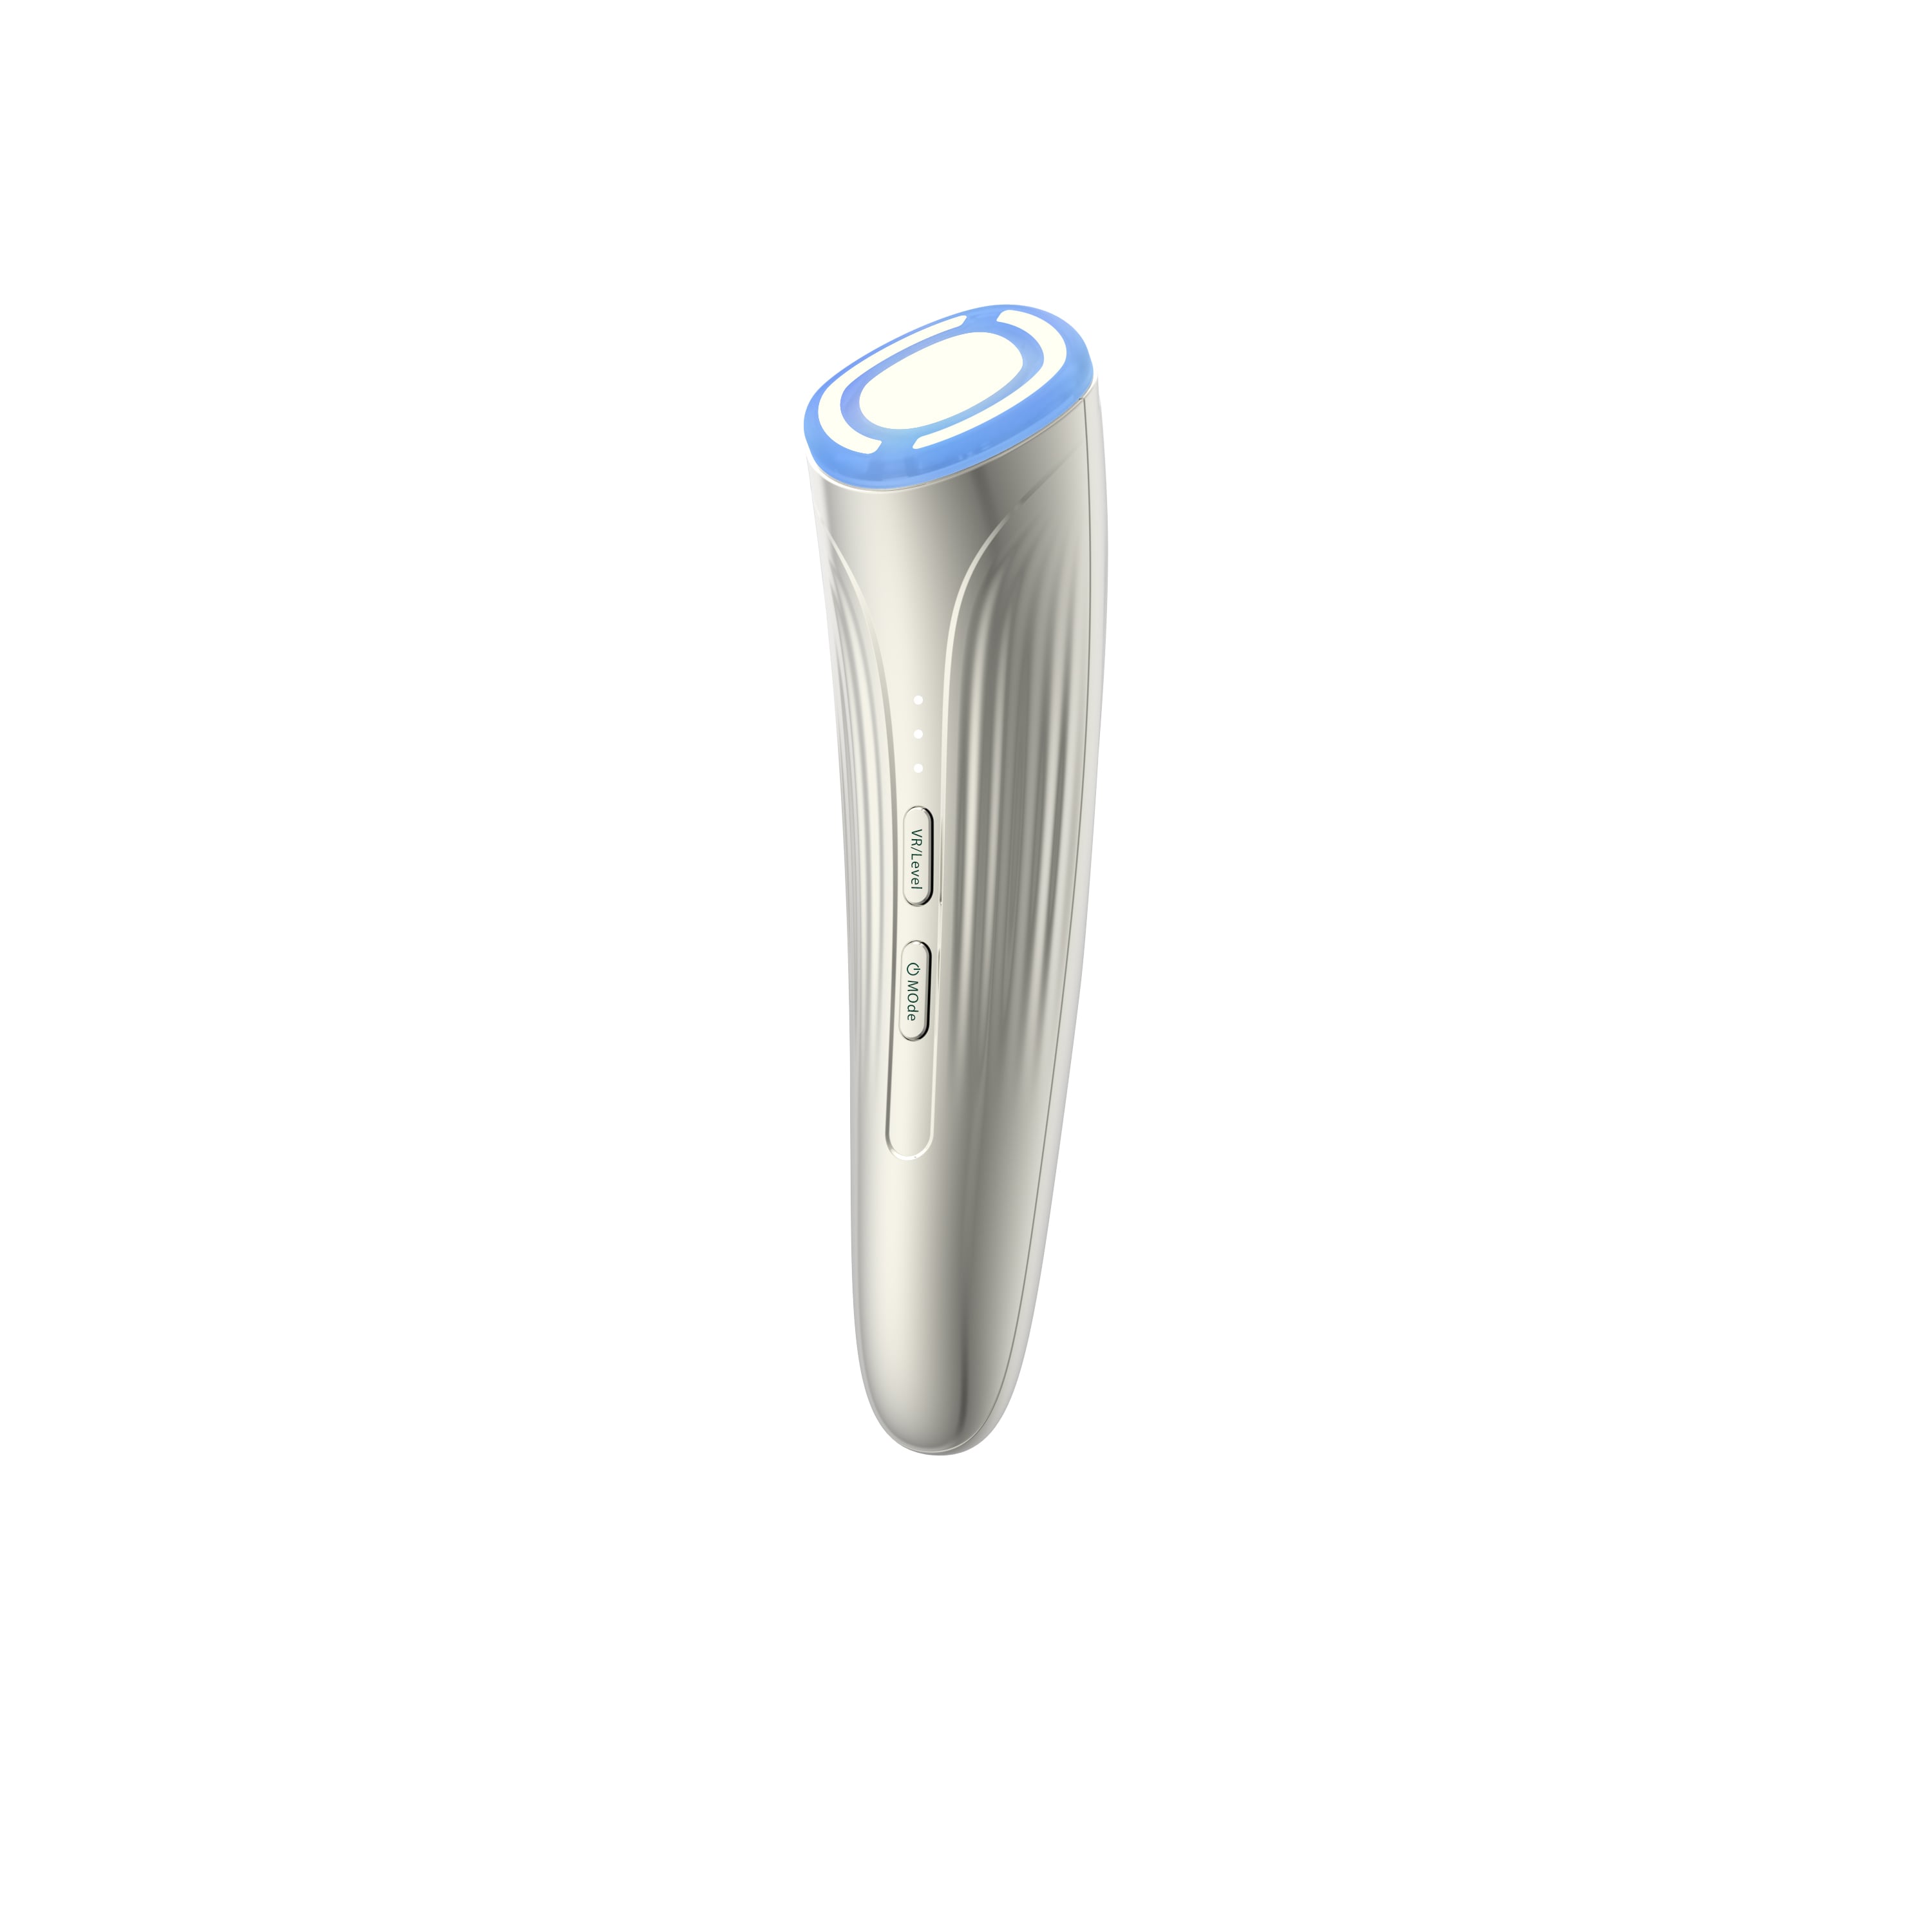
A handheld facial device with warm and cool settings can make a home routine feel more intentional, but the benefit comes from a measured routine rather than from using the strongest setting for the longest time. Warmth is usually used to create a comfortable, relaxed prep step; cooling is often used when skin feels puffy, warm, or temporarily reactive. The right approach is gentle, consistent, and guided by the device manual.
As a practical rule, treat any handheld facial device as a skincare accessory, not a medical treatment. It may support a pleasant massage routine and a refreshed-looking finish, but it should not replace professional care for a skin condition. Start with the goal for that session: warm mode for a slow prep massage, cold mode for a calming finish, or a short sequence of both.
Warm mode can feel comfortable before massage because it encourages you to slow down and work with a slippery serum, gel, or moisturizer. The point is not to “open” pores permanently; pores do not work like doors. Instead, think of gentle warmth as a comfort step that may make a massage routine feel more relaxing and help you spread a compatible product evenly.
Cold mode is often chosen when the face looks temporarily puffy after sleep, exercise, travel, or a warm shower. A brief cooling pass may leave skin feeling soothed and can create a more refreshed appearance. It is not a cure for inflammation, rosacea, acne, or under-eye problems. If the cool setting feels sharply uncomfortable, numb, or painful, it is too much for that session.
Many people initially assume that a more expensive device or a more intense setting automatically produces a better result. In practice, a handheld facial device is most useful when its temperature, timing, and glide fit your skin on an ordinary day. Repeatable comfort matters more than an aggressive session you will not want to repeat.
Use warm mode as a short preparation or massage phase. Choose the lowest comfortable setting at first, place the device flat against the skin, and keep it moving. Slow outward strokes from the center of the face toward the hairline and ears are easier to control than pressing in one spot. Use light pressure: the device should glide, not pull or compress the skin.
Keep the session within the manufacturer’s stated limit. A sensible beginner routine is one short pass over the cheeks, jawline, forehead, and neck only if the manual permits neck use. Avoid the eyelids and eyeball area. If your skin becomes hot, stings, or turns increasingly red, stop rather than trying to “work through” the sensation.
Warm mode is especially easy to overdo when your skin is already flushed from a workout, hot bath, sun exposure, or active breakout. On those days, skip warmth and use a simple barrier-supporting routine instead.
Cold mode is often most comfortable as a brief, moving finish. Start at the center of the face and glide outward with feather-light pressure. For morning puffiness, use several gentle passes beneath the cheekbones and along the jaw, then move across the forehead. Around the eyes, stay on the orbital bone and follow the device’s instructions; do not place a handheld facial device on the eyelid or directly over the eye.
Cooling should feel cool, not painfully cold. Do not hold the head still on one small area. Excess cold exposure can cause tingling, redness, numbness, or cold injury, which is why the device timer and movement guidance matter. If you have reduced sensation, circulation concerns, cold sensitivity, or a history of cold-triggered skin symptoms, ask a qualified clinician before using a cold setting.
If your device is designed for both modes, a conservative sequence is usually easier to tolerate than switching repeatedly. After cleansing, apply a compatible glide product. Use warm mode briefly for a comfortable massage, then turn the device off or change modes exactly as directed. Follow with a short cold-mode finish, keeping the head moving. Apply the rest of your skincare only after you have cleaned the device and your skin feels normal.
Do not assume that hot and cold therapy must be used in the same session. If your skin is dry, sensitive, or newly adjusting to a handheld facial device, use one mode at a time for several sessions. That makes it easier to identify what feels good and what your skin does not tolerate.
Do not use a thermal facial device over broken skin, an active infection, a sunburn, a fresh procedure area, or a rash unless your clinician has specifically approved it. Pause use if you develop burning, persistent redness, itching, blistering, welts, unusual swelling, or a change in skin color. These are stop signs, not signals to increase the setting.
Seek professional guidance before using a handheld facial device if you have a diagnosed skin condition, impaired sensation, circulation concerns, recent injectables or procedures, or if you are unsure how a heat or cold setting fits with prescribed treatment. People with highly reactive skin may find that a simple cleanser, moisturizer, and sun protection routine is the better choice until the skin settles.
A handheld facial device can be a useful comfort tool when you use it gently and consistently. The most reliable benefits are often practical: a more deliberate massage step, a comfortable cooling finish, and a routine that encourages you to pay attention to how your skin responds. Use the lowest effective setting, keep the device moving, clean it after every use, and let skin comfort—not marketing claims—set the pace.
2026/10/30
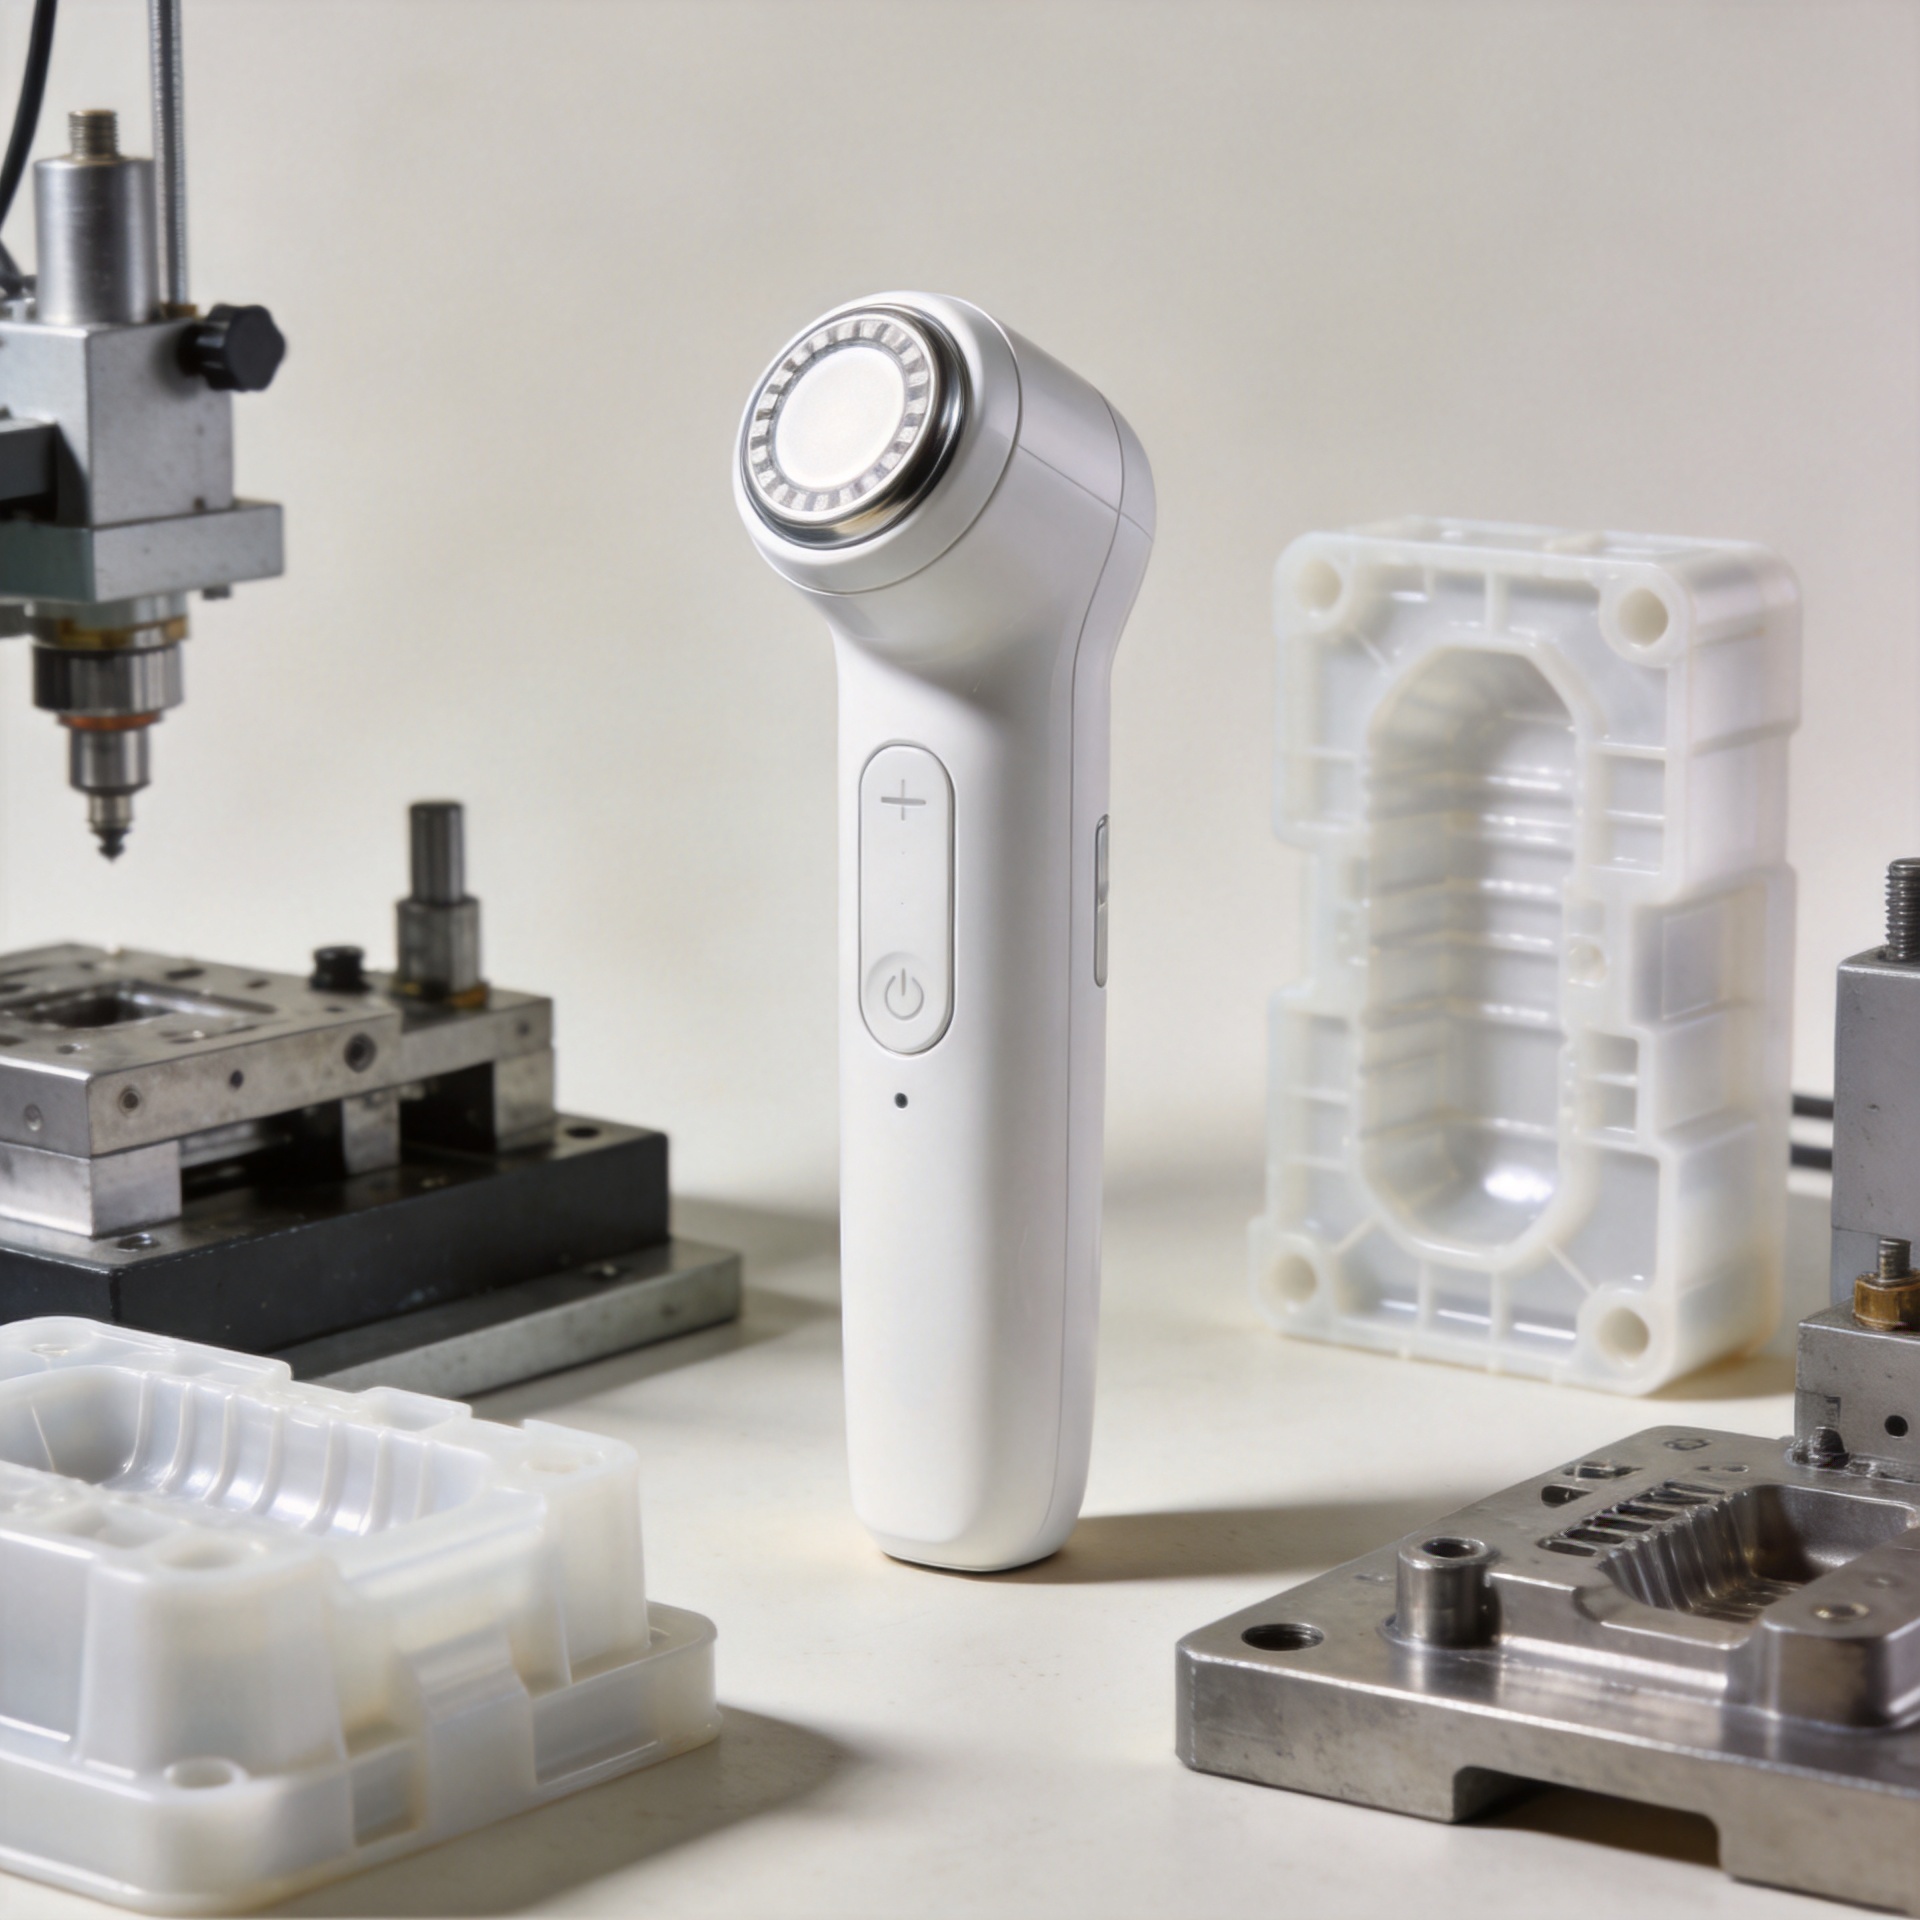
Discover why in-house mold development helps an RF beauty device manufacturer improve product consistency, iteration speed, tooling control, and production readiness.
2026/10/30
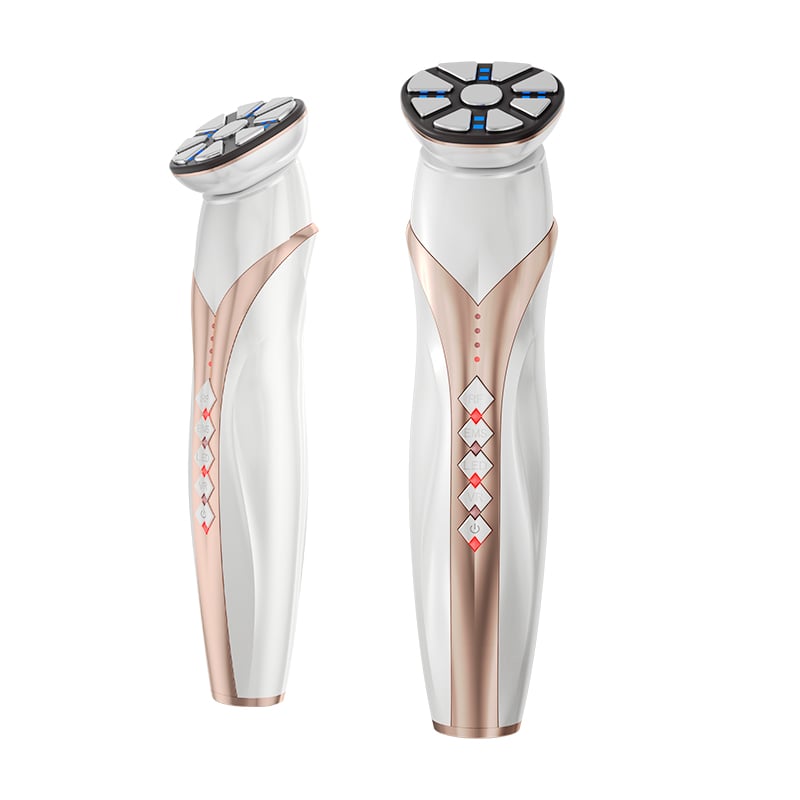
Learn how to verify an RF beauty device manufacturer's R&D and prototyping capabilities using practical engineering workflows and audit checklists.
2026/10/30
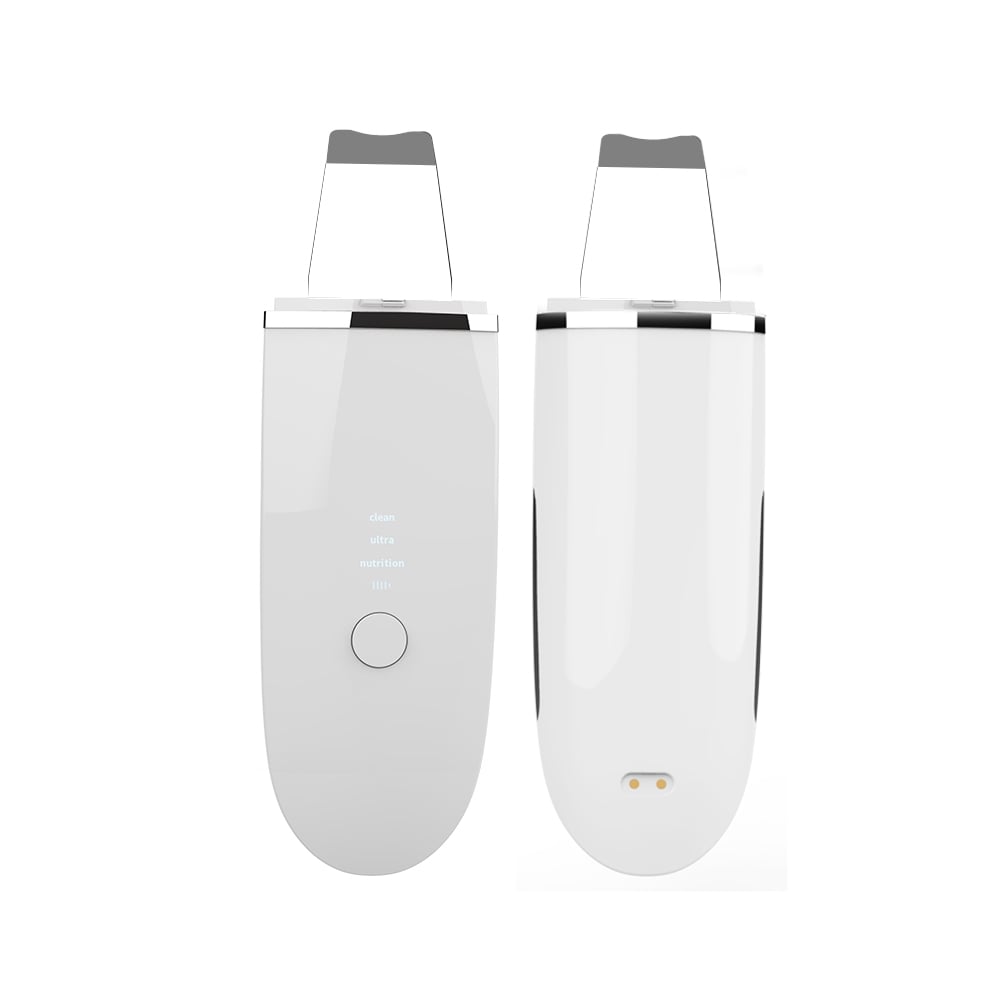
Learn what shapes MOQ when choosing an RF beauty device manufacturer and how to plan a lower-risk first order with balanced platform and customization.
2026/10/30
Use this RF beauty device manufacturer evaluation checklist to compare safety evidence, OEM and ODM capability, quality control, and launch readiness.
2026/10/30
See how technology makes beauty at home more guided, consistent, and informed—plus a practical checklist for choosing devices wisely.
2026/10/30
Explore how AI and smart devices shape the future of beauty with responsive routines, clear guidance, trustworthy design, and user-controlled care.

Ideal for daily facial care routines, providing easy-to-use beauty solutions at home.

Perfect for spas and salons’ frequent treatments, enhancing client experiences and results.

Supports dermatologists with advanced devices for professional skin therapy sessions.

Delivers innovative solutions for full-body massage and relaxation with home devices.

Features anti-aging technologies to help reduce wrinkles and stimulate skin vitality.

Specialized devices for safe and effective hair removal suitable for home or clinic use.

Our customers love the Perfect Idea beauty devices. Quality, packaging, and results are all outstanding. We saw increased repeat sales after adding their facial cleansers to our lineup. Their support team is responsive and reliable.

Perfect Idea brings innovation and reliability to home beauty appliances. Our collaboration introduced their massage tools to Japanese women, boosting customer satisfaction and growing our brand trust across the region.

We partnered with Shenzhen Perfect Idea Tech for their beauty equipment. The shipping was fast and every product matched our expectations. Their home-use massagers are especially popular with local salons and home users.

The stylish packaging and attractive design make Perfect Idea stand out. French consumers appreciate the easy instructions and visible results. Communication was efficient and orders always arrived on time.

Perfect Idea home use personal care devices have become a favorite with our clients. The beauty device line offers quality at a reasonable price, and technical training for our staff made onboarding easy.

We selected Perfect Idea for our beauty product portfolio and have seen very positive feedback from our customers. Products are easy to market online and the customer support is reliable and helpful.
