 EN
Home Skincare
Ideal for daily facial care routines, providing easy-to-use beauty solutions at home.

2026/10/14
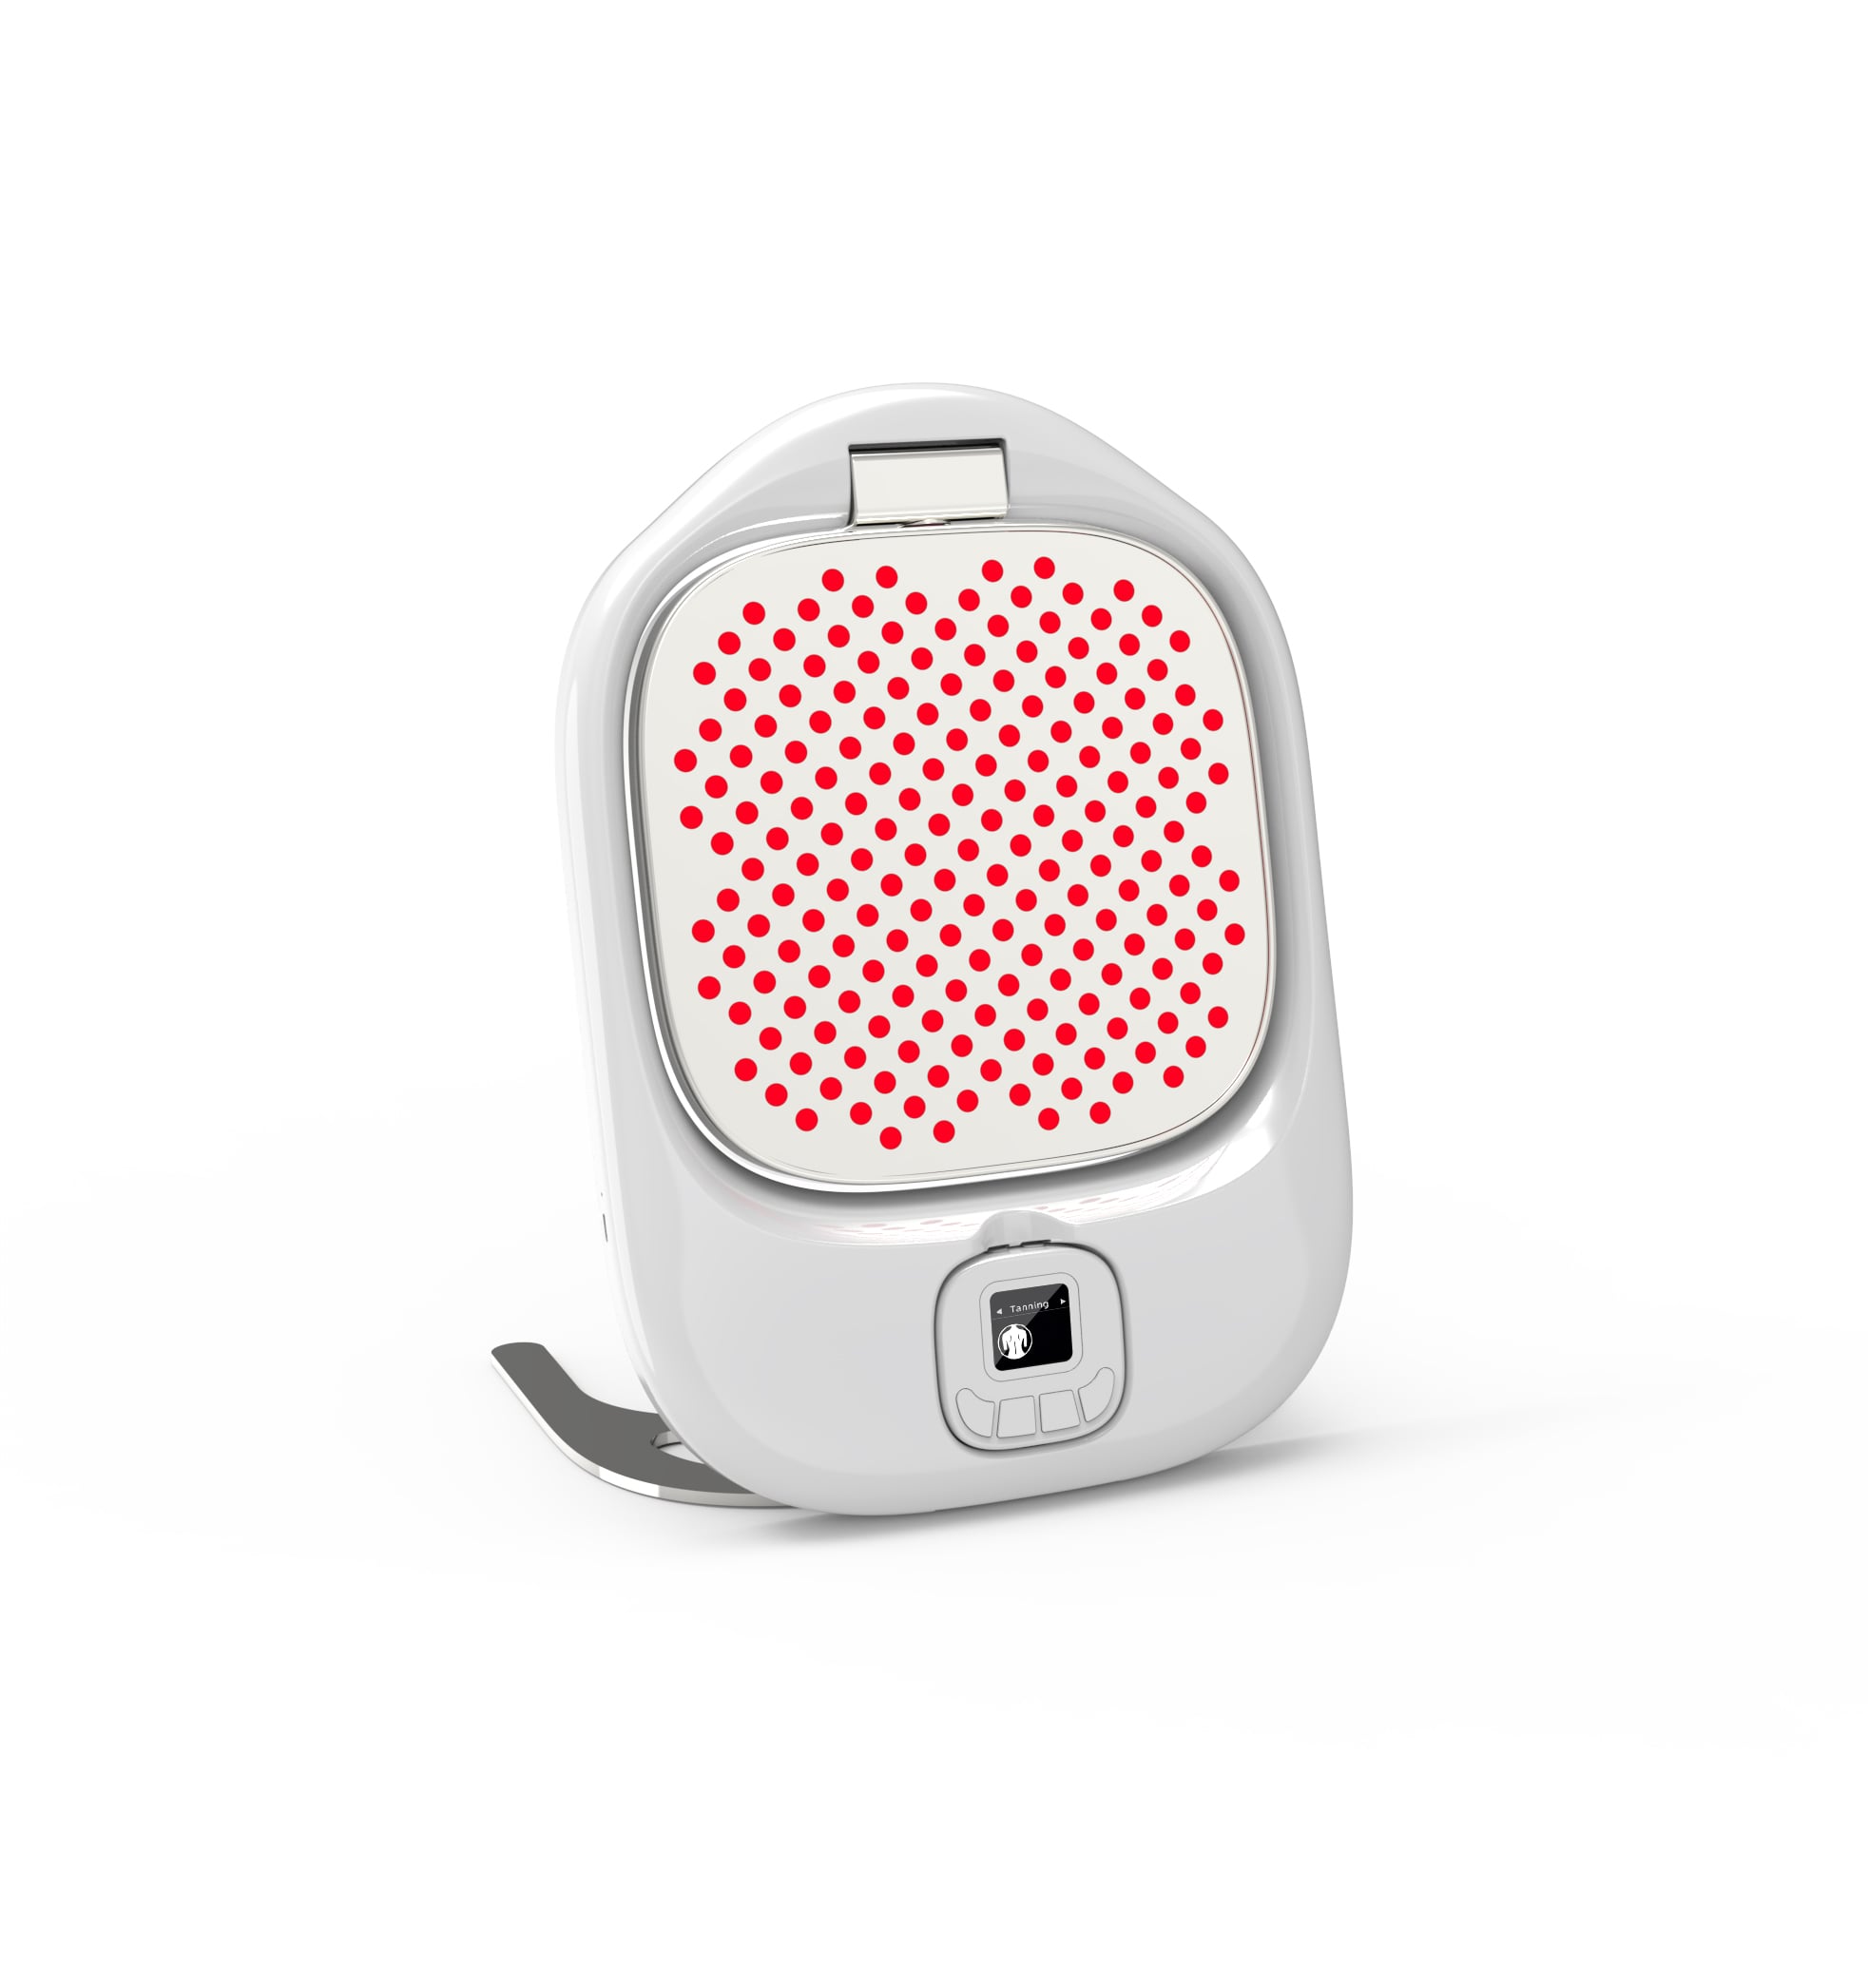
A red light therapy panel can be simple to use once the space is set up well. The tricky part is not switching it on; it is creating a repeatable routine that respects your device manual, keeps the panel stable, and lets you reach the intended area without awkward posture. This practical setup guide focuses on installation, distance, aiming, and sensible session habits for home use.
Before you start, treat the instructions supplied with your own red light therapy panel as the operating authority. Panel size, LED layout, intensity controls, timer options, cooling, and eye-use guidance differ from model to model. A distance that works for one device is not automatically correct for another.
Choose a dry, well-ventilated place with enough clear floor space to stand, sit, or place a chair at the recommended working distance. The surface or wall must support the panel and its mount. Keep cables away from walkways, pets, water, heat sources, and places where a door could pinch them. If you are using a floor stand, check that its base is fully open and level before connecting power.
It also helps to plan for the routine you will actually keep. A panel parked behind furniture may be technically installed but rarely used. A practical position is near a private changing area, a clean chair, or a spot where you can stand comfortably without leaning into the LEDs. Leave access to the controls and the power switch; do not cover vents or drape fabric over the unit.
A stand is useful when one red light therapy panel needs to serve the face, chest, legs, or back. Assemble it exactly in the order given by the manufacturer. Tighten the locking points, keep the base on a hard and level surface, and test height adjustments with one hand supporting the panel. If the unit feels unstable, stop and correct the installation rather than trying to balance it with nearby furniture.
Think of the lighted area as a rectangle. The goal is to place the target area inside that rectangle, facing the panel as directly as comfortably possible. Standing at a sharp angle may leave one side closer than the other and makes it harder to repeat the same setup. For a face session, sit or stand tall with the panel square to your face. For the chest, abdomen, arms, or thighs, move the panel or your body so the treatment area is centered instead of stretching or twisting to reach it.
Many home-panel guides discuss a starting distance around 6 to 12 inches, but that is only a planning reference, not a universal setting. Use the distance and duration stated for your exact red light therapy panel. If the manual gives a range, begin at the more conservative end, use the timer, and make changes gradually. More intensity, closer distance, or longer exposure is not automatically better.
| Target area | Practical panel position | Setup check |
|---|---|---|
| Face and neck | Center the panel near face level; sit or stand upright. | Keep your eyes and the controls easy to manage; follow the manual for eye protection and face use. |
| Chest or abdomen | Set the panel around mid-torso height and face it squarely. | Use a chair or stand at a repeatable distance instead of bending toward the unit. |
| Arms or legs | Lower or raise the panel so the area is in the central light field. | Treat one side at a time if coverage is uneven rather than crowding the panel. |
| Back or shoulders | Use a stable stand or a wall position that lets you turn safely. | Check cable clearance and avoid reaching behind you to operate controls. |
Avoid looking directly into the LEDs. Follow your panel manual on whether protective eyewear is supplied, required, or recommended for the intended use. If a session causes eye discomfort, afterimages, unusual warmth, or skin irritation, stop and review the instructions before using the device again.
It is wise to ask a qualified clinician before starting if you have a light-sensitive condition, an eye condition, are taking medicines that can increase photosensitivity, are pregnant, or have another concern that may affect light exposure. This article is general setup information, not medical advice. A red light therapy panel should not replace diagnosis or treatment from a healthcare professional.
For the first few sessions, keep the setup intentionally boring: same position, same distance, same target area, and the manual-recommended timing. Make a small note of the settings and how your skin feels afterward. This is more useful than changing distance, intensity, and duration all at once, because you will know what to adjust if the routine is uncomfortable or impractical.
The most common mistake is treating distance as a fixed rule across every device. The next is placing the panel too high, too low, or too far to the side and then leaning toward it. Another easy error is using the panel in a cluttered area where the cord becomes a trip hazard. Correct the room layout first, then refine the distance using your manual.
Also avoid making a home panel do a job it is not designed for. Do not modify the housing, block cooling vents, use damaged cables, or combine the device with unapproved accessories. If your goals or symptoms raise medical questions, speak with a healthcare professional rather than increasing exposure on your own.
A well-positioned red light therapy panel is secure, easy to access, and used according to its own instructions. Confirm that the mount or stand is stable, the cord is clear, the room is dry and ventilated, the panel is aligned with the treatment area, and the timer and eye-safety steps are ready before each session. Starting conservatively and repeating a comfortable setup gives you a safer, more useful routine than constantly chasing a closer or longer session.
2026/10/30
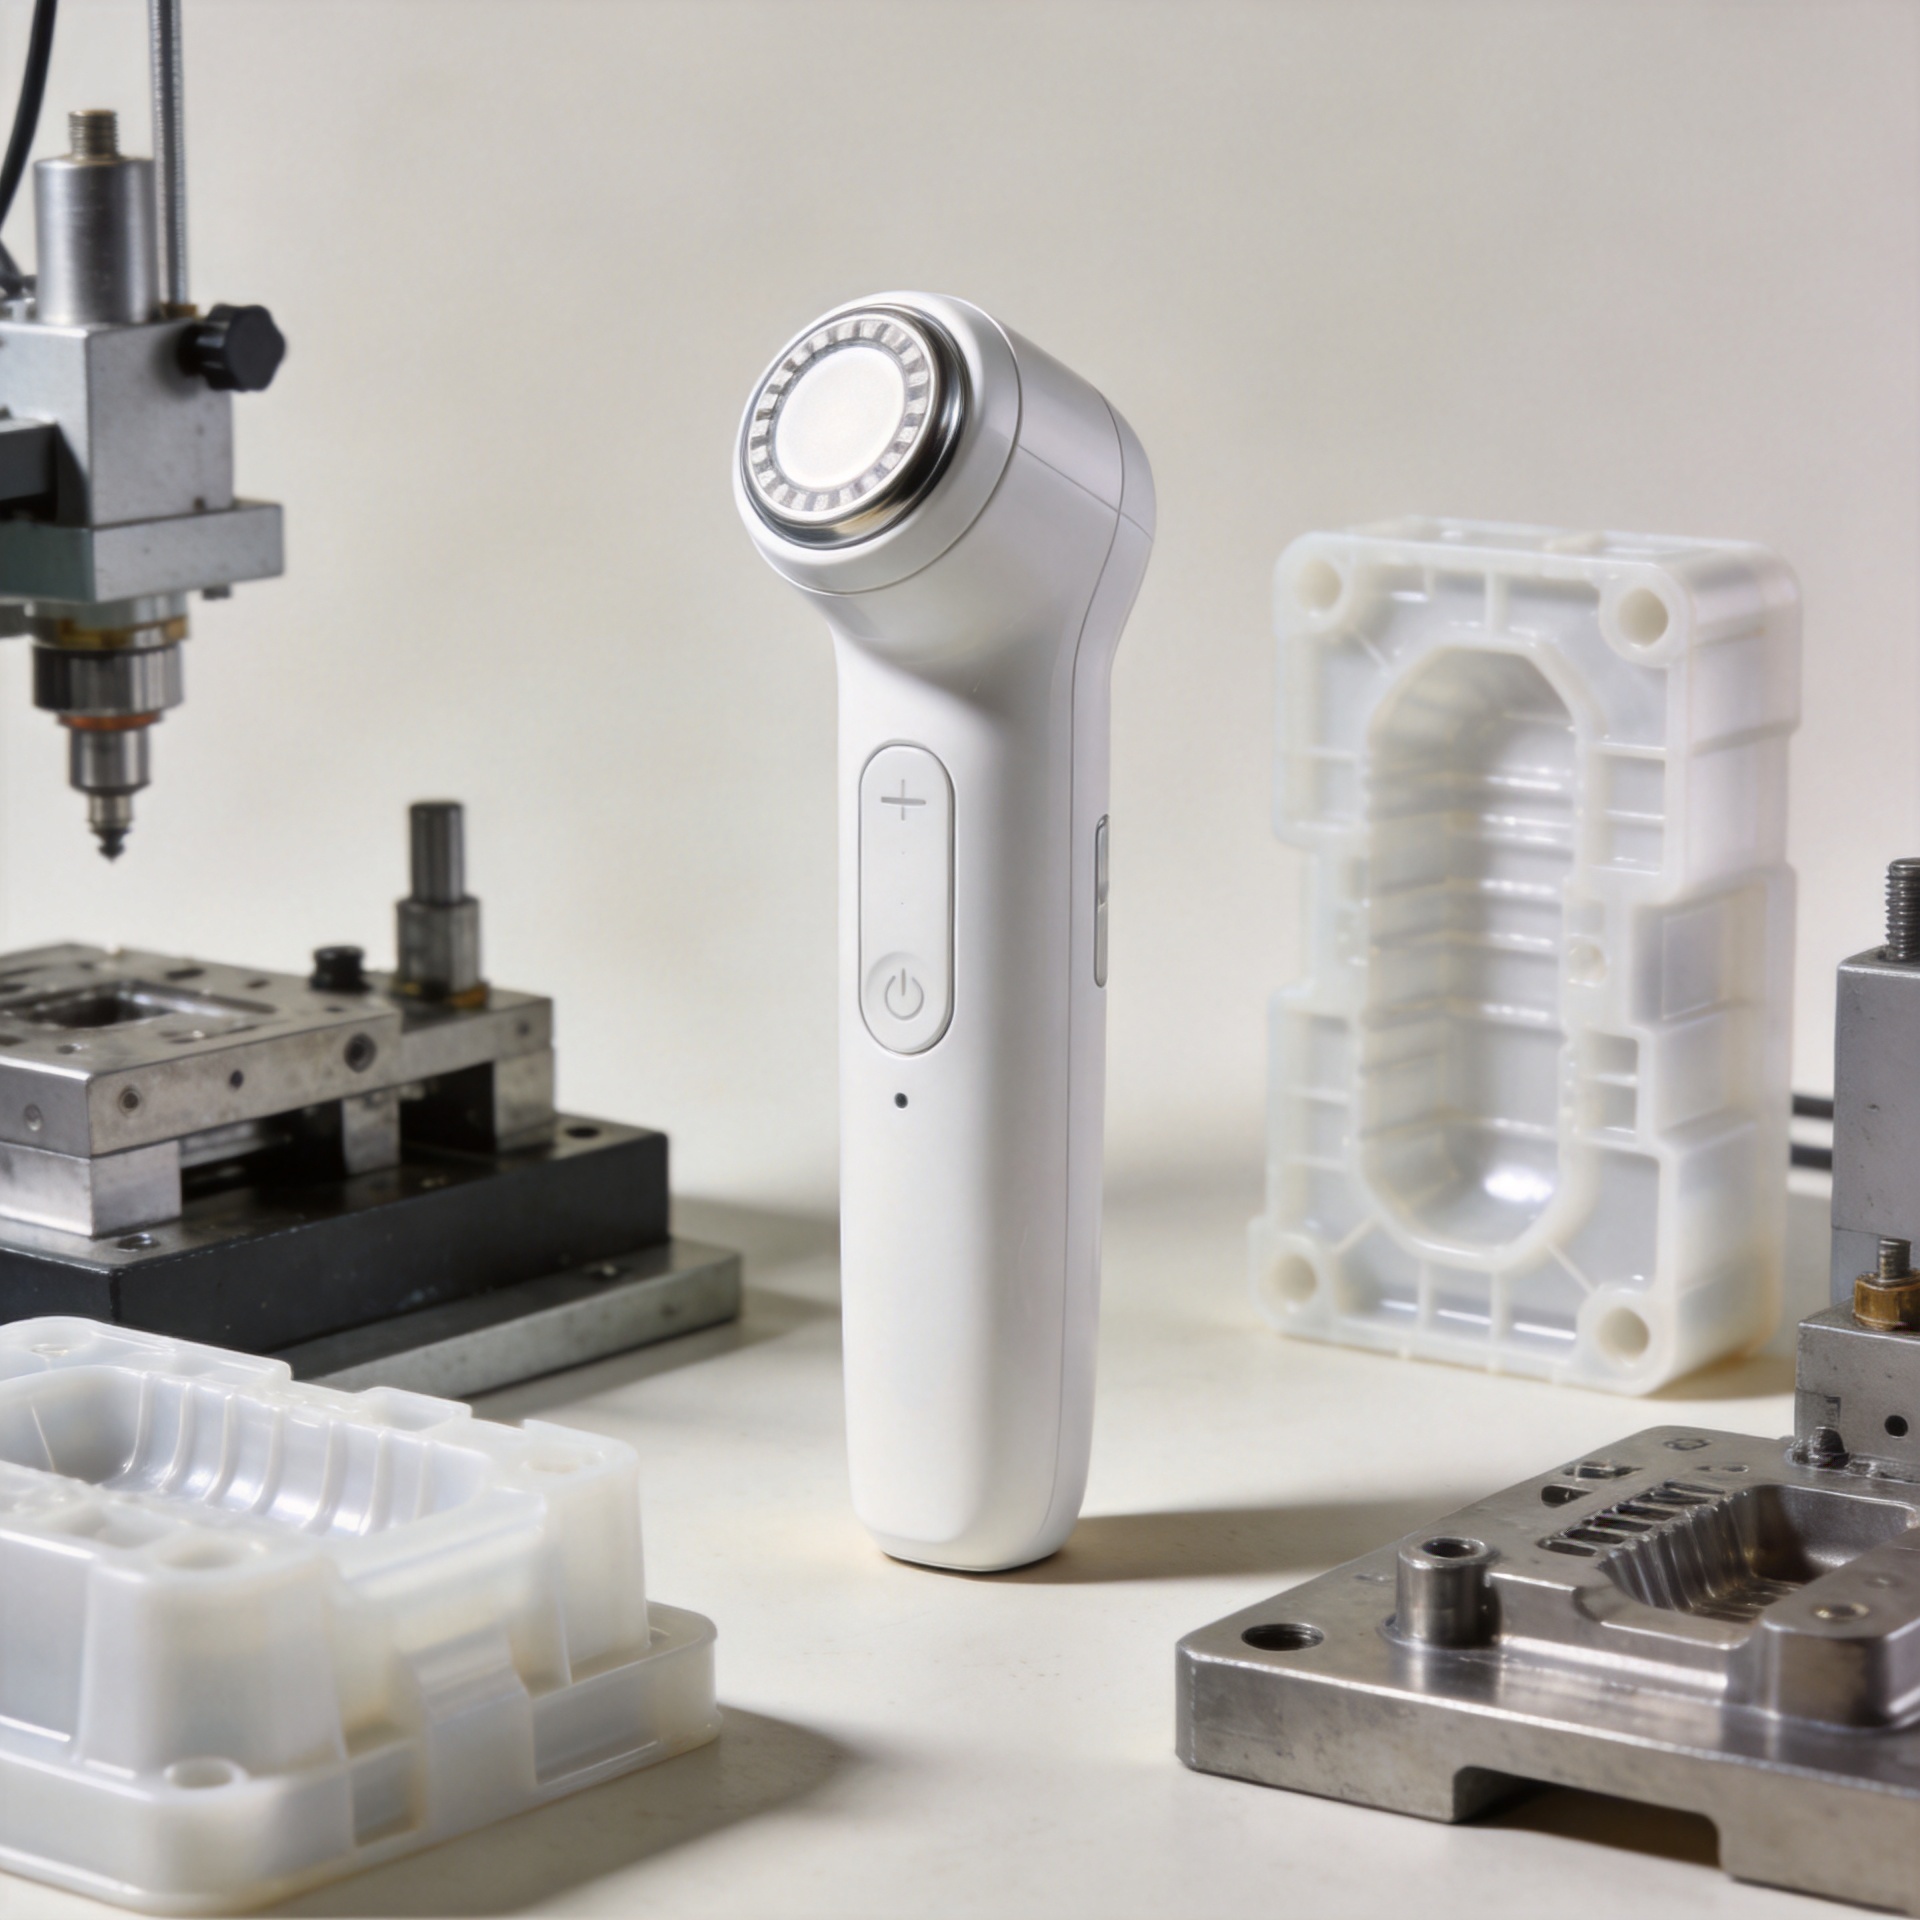
Discover why in-house mold development helps an RF beauty device manufacturer improve product consistency, iteration speed, tooling control, and production readiness.
2026/10/30
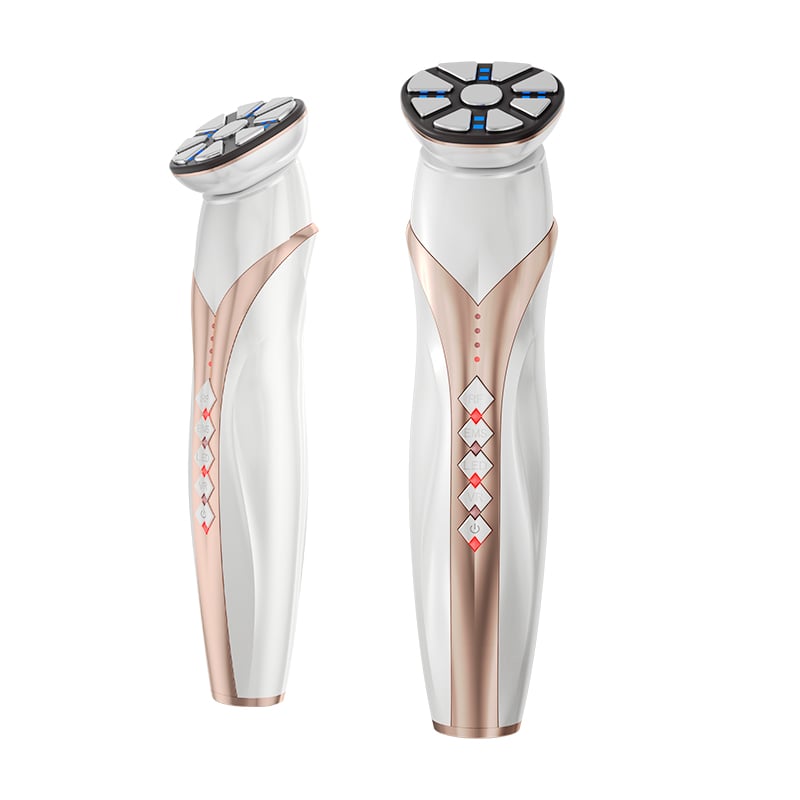
Learn how to verify an RF beauty device manufacturer's R&D and prototyping capabilities using practical engineering workflows and audit checklists.
2026/10/30
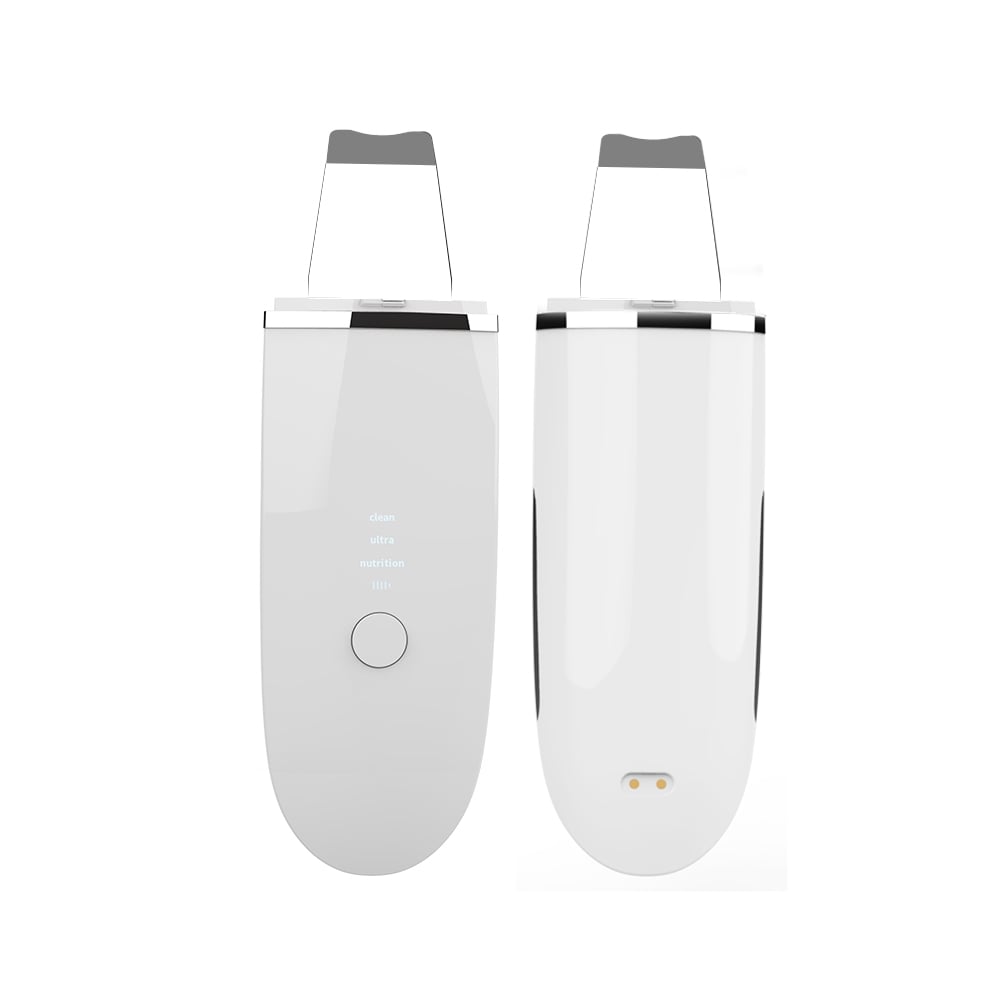
Learn what shapes MOQ when choosing an RF beauty device manufacturer and how to plan a lower-risk first order with balanced platform and customization.
2026/10/30
Use this RF beauty device manufacturer evaluation checklist to compare safety evidence, OEM and ODM capability, quality control, and launch readiness.
2026/10/30
See how technology makes beauty at home more guided, consistent, and informed—plus a practical checklist for choosing devices wisely.
2026/10/30
Explore how AI and smart devices shape the future of beauty with responsive routines, clear guidance, trustworthy design, and user-controlled care.

Ideal for daily facial care routines, providing easy-to-use beauty solutions at home.

Perfect for spas and salons’ frequent treatments, enhancing client experiences and results.

Supports dermatologists with advanced devices for professional skin therapy sessions.

Delivers innovative solutions for full-body massage and relaxation with home devices.

Features anti-aging technologies to help reduce wrinkles and stimulate skin vitality.

Specialized devices for safe and effective hair removal suitable for home or clinic use.

Our customers love the Perfect Idea beauty devices. Quality, packaging, and results are all outstanding. We saw increased repeat sales after adding their facial cleansers to our lineup. Their support team is responsive and reliable.

Perfect Idea brings innovation and reliability to home beauty appliances. Our collaboration introduced their massage tools to Japanese women, boosting customer satisfaction and growing our brand trust across the region.

We partnered with Shenzhen Perfect Idea Tech for their beauty equipment. The shipping was fast and every product matched our expectations. Their home-use massagers are especially popular with local salons and home users.

The stylish packaging and attractive design make Perfect Idea stand out. French consumers appreciate the easy instructions and visible results. Communication was efficient and orders always arrived on time.

Perfect Idea home use personal care devices have become a favorite with our clients. The beauty device line offers quality at a reasonable price, and technical training for our staff made onboarding easy.

We selected Perfect Idea for our beauty product portfolio and have seen very positive feedback from our customers. Products are easy to market online and the customer support is reliable and helpful.
